Table of Contents
Data loss is a common problem that computer users face today. Whether it’s due to accidental deletion, system crashes, or hardware failure, losing important files can be a frustrating experience. Fortunately, there are many data recovery software available, and Disk Drill is one of the best data recovery software available today. In this article, we will discuss how to use Disk Drill to recover lost or deleted files on Mac and Windows.
What is Disk Drill?

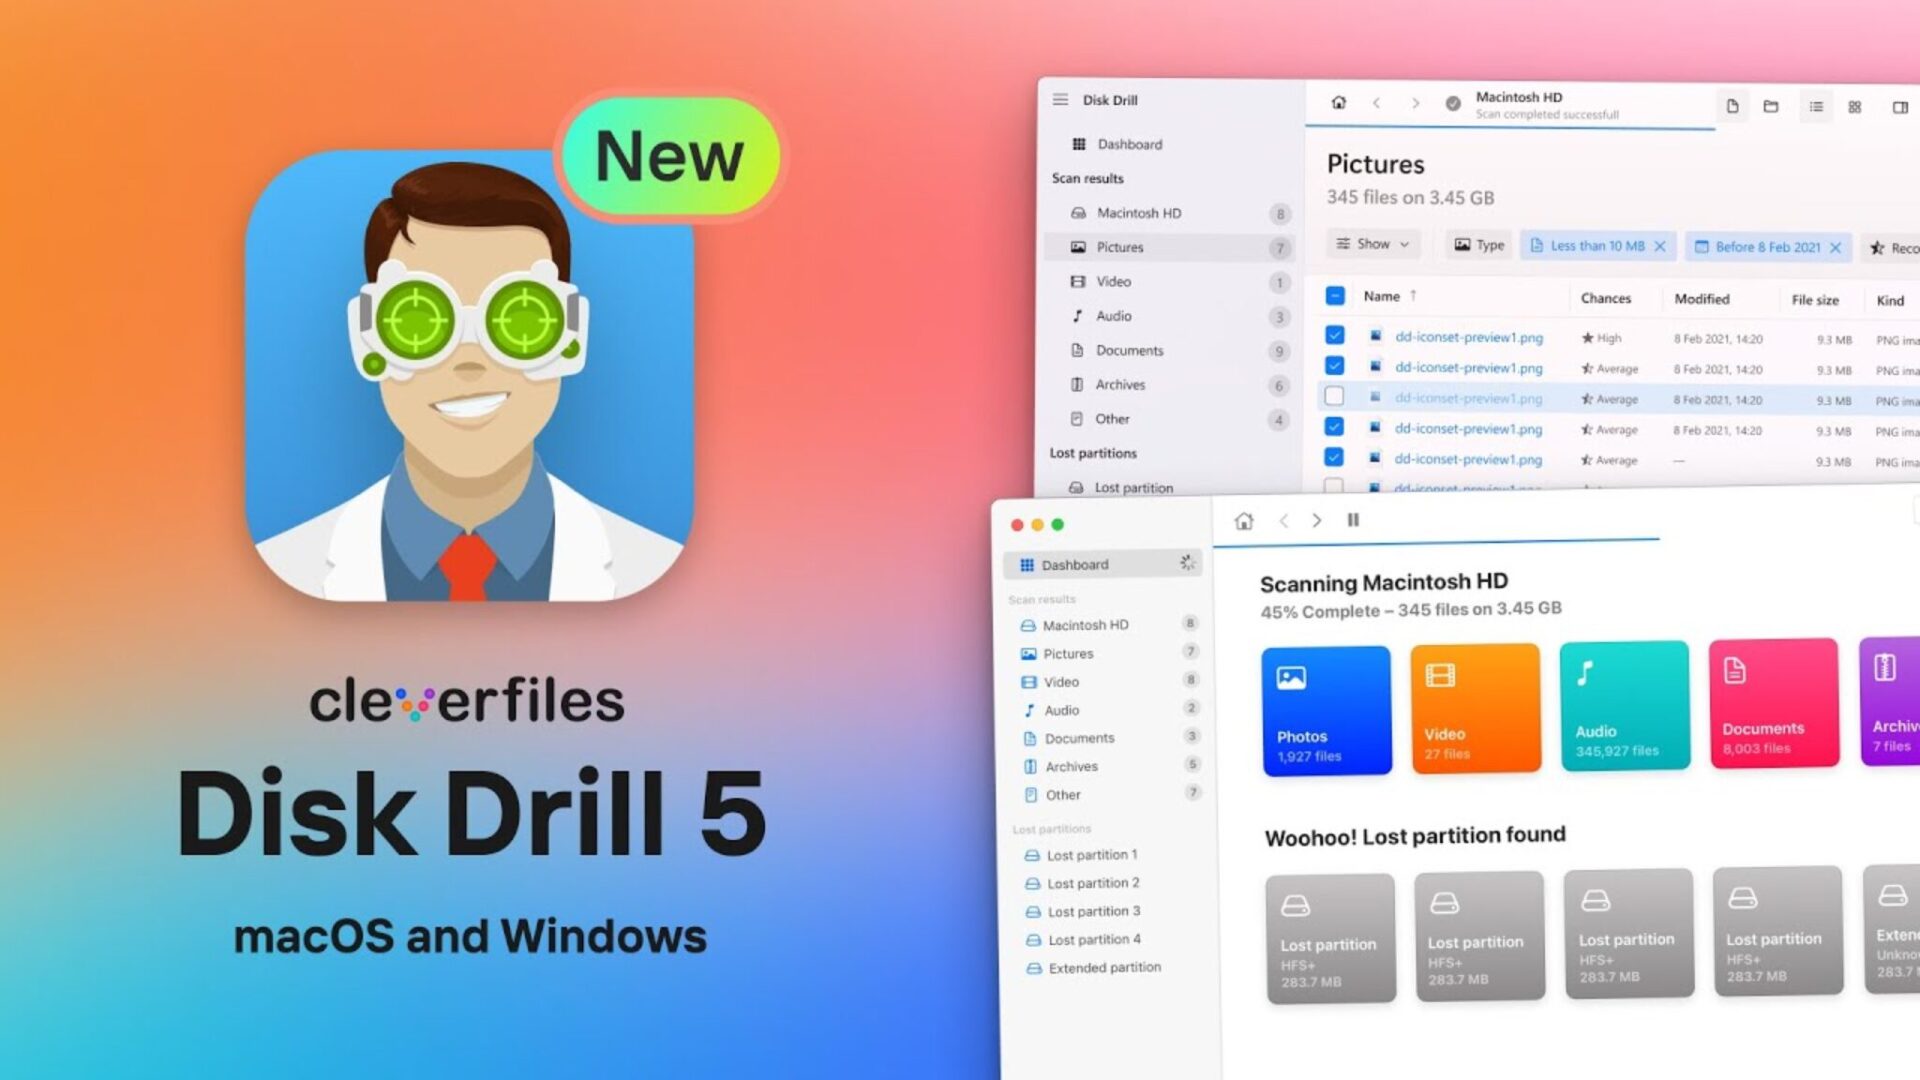
Disk Drill is a data recovery software developed by CleverFiles. It’s available for Mac and Windows and allows users to recover deleted or lost files from various storage devices, such as hard drives, USB drives, memory cards, and more. Disk Drill uses advanced scanning algorithms to scan your storage device and find recoverable files, even if the file system is damaged or corrupted.
Step-by-Step Guide to Using Disk Drill for Data Recovery
Step 1: Download and Install Disk Drill
To use Disk Drill, you must download and install the software on your computer. You can download the software for Mac or Windows from the official Disk Drill website. Once you’ve downloaded the software, install it on your computer by following the on-screen instructions.
Step 2: Launch Disk Drill
After installing the software, launch Disk Drill on your computer. You’ll be presented with a screen that shows all the storage devices connected to your computer. Select the device from which you want to recover data and click on the “Recover” button.
Step 3: Scan the Selected Device
Disk Drill offers two types of scanning modes: Quick Scan and Deep Scan. Quick Scan is a faster scanning mode that scans for deleted files and recently deleted files. Deep Scan is a more thorough scanning mode that scans for all recoverable files on your device. Select the scanning mode you prefer and click on the “Scan” button.
Step 4: Preview and Recover Files
Once the scanning process is complete, Disk Drill will display a list of all the recoverable files on your device. You can preview the files by clicking on them, and if you find the files you want to recover, select them and click on the “Recover” button. Disk Drill will ask you to choose a location to save the recovered files.
Tips for Using Disk Drill for Data Recovery
- Stop using the storage device immediately after data loss occurs. This reduces the risk of overwriting the lost data and increases the chances of successful data recovery.
- Use the Deep Scan mode if the Quick Scan mode fails to recover your lost files. A deep Scan takes more time but is more thorough and can recover more data.
- Save the recovered files to a different storage device than the one from which you’re recovering the files. This prevents overwriting and permanent data loss.
- Regularly back up your important files to prevent data loss in the first place.
- Disk Drill also has a Recovery Vault feature that protects your files from accidental deletion. Enable this feature to reduce the risk of data loss.
Conclusion
Disk Drill is an excellent data recovery software that can help you recover lost or deleted files on Mac and Windows. With its advanced scanning algorithms and user-friendly interface, Disk Drill makes data recovery easy and accessible for everyone. By following the steps outlined in this article, you can use Disk Drill to recover your lost data and prevent future data loss.